The Post Where I Go All “Photoshop” on My Needlepoint

(Yes, Adobe nerds, I’m using the prehistoric CS4… no judgies!)
Oodles of excess kit material, fresh needlepoint knowhow... I mean, whose mind WOULDN’T leap to photo editing software?!
You know those guests who just won’t leave after the party’s over?
Yeah. That’s me with this needlepoint project. I just completed something (for me) epic and intensely gratifying, and I’m not ready yet to call it a day. So I’ve been… lingering… with this particular project. Which gave me an idea…
When I craft, I use kits to build skills, muscle memory, and to gauge my own interest. Kits are brilliant for learning technique and style… but they’re still the mental product of someone else’s creativity. Clearly needlepoint and I gelled. Why not have a crack at creating my own design?
Plus, look at all of these beautiful threads and flosses (I can feel your admiration for my sandwich baggie system)! To shelve these or toss them in with my plebeian, work-a-day flosses, would be an absolute travesty.

So, I decided to put my new needlepoint skills to the test - to challenge myself, use up the leftovers, beautify (hopefully) another wall, and to see if this needle nerdery would stick.
I initially thought I’d use new stitches, new fabric, and freestyle an entirely new design concept.
… Which scared the muses right out of me.
I opted instead to craft a smaller piece in a similar style and using the stitches I’d just learned, but with a fresh, new layout. That felt better! The muses decided I wasn’t such a bad egg after all.
Just like artists who rough sketch before finalizing a composition, I wanted to give myself a “roadmap” to work from. In a (former) former life as a freelance designer, I made friends with Photoshop. Hmmm… I wonder…
I loaded a photo of my finished needlepoint, and began cutting and splicing like a regular Dr. Frankenstein (bwa-ha-ha-haa!) - stitching together my favorite elements in a pattern and size that really jazzed me up! I started in black and white, so I could monkey with values (darks and lights) - to get the ratio just right.

Then, using my favorite threads as reference, I colorized areas of my mock-up and created my own pattern thread chart, so that I’d know what goes where.
And here’s my final(ish) Photoshopped design plan!

If you told me 20+ years ago, when I first met Photoshop, that I’d be using it to create needle art, I’d have laughed my butt off. But then, I would have done the same for back muscles, safety glasses, and pliers - all of which I’ve needed in this “delicate, feminine” craft.
(Photo editing software works for me, but graph paper, colored pencils, fabric scraps, construction paper, etc. could also do the trick, for computer-shy crafters.)
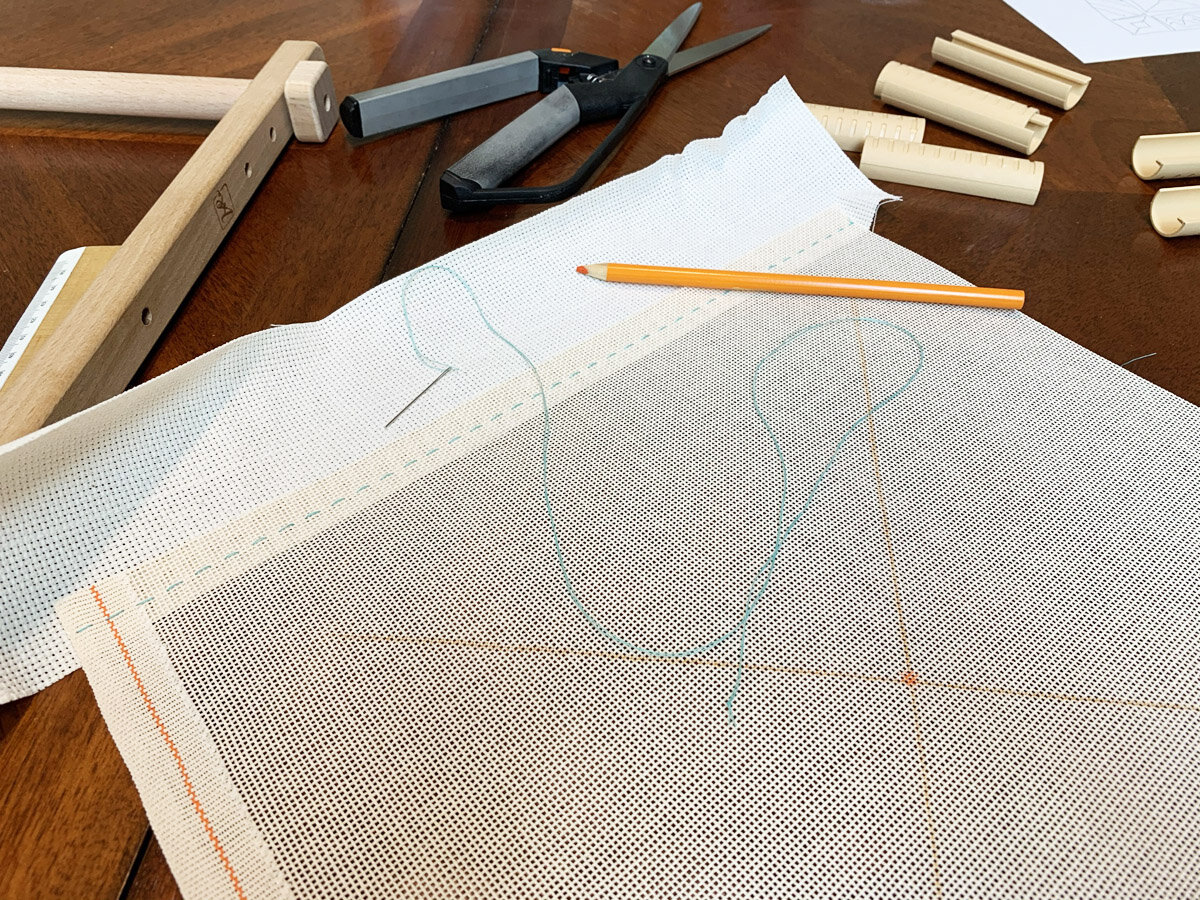
So, folks, the canvas has been primed, the materials laid out, and the stretcher bars are locked and loaded. I look forward to checking back next blog post with some serious stitch action!
What craft kits have YOU taken to the next level? Inspire us in the comments below!